All Categories
Featured
Table of Contents
- – Affordable Plumbing Near Me University City San...
- – Black Mountain Plumbing
- – Plumber For Clogged Toilet Near Me University ...
- – Residential Plumbing Services Near Me Universi...
- – Local Plumber University City San Diego, CA
- – Shower Repair Near Me University City San Die...
- – Residential Plumber University City San Dieg...
- – Plumbing Installation Near Me University Cit...
- – Water Filtration Services Near Me University...
- – Black Mountain Plumbing
Affordable Plumbing Near Me University City San Diego, CA
Black Mountain Plumbing
9909 Hibert Street Suite E San Diego, CA 92131(858) 536-4161
Black Mountain Plumbing
Our drain cleaners can handle any kind of kind of drainpipe or sewage system line problem, consisting of significant. To arrange any kind of service, including a drainpipe cleaning and clearing of a sewage system back up, call our plumbings today.
Thank you, thank you, thanks to all, a lot of particularly Nick !! Our St Louis sewer professionals are offered to deal with even the most hard jobs, commonly beginning with a comprehensive sewage system inspection. With even more than 40 years of experience, phone call on our accredited professionals for: Having reputable warm water in your home or business is essential to comfort and health.
Plumber For Clogged Toilet Near Me University City San Diego, CA
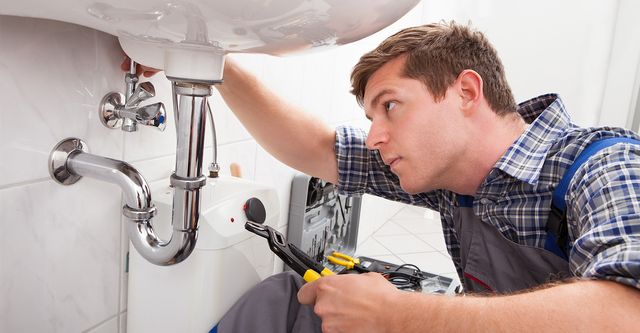
Your home has kitchen faucets, restroom taps, warm and chilly faucets on your cleaning device, and faucets outside your home. Faucets can be leaking or simply stop working entirely. Hoffmann Brothers' plumbers can replace faucets in your cooking area, washroom, utility room or damp bar. It is necessary to have a working tap in your house - Local Plumber University City San Diego.
We have actually come across pipes that are leaking and leaking to full water pipe replacements in your home. There are many means that a waste disposal unit can quit working properly. When the disposal gets clogged or doesn't function anymore the plumbing professionals at Hoffmann Brothers can get you up and running once again in no time at all.
Residential Plumbing Services Near Me University City San Diego, CA
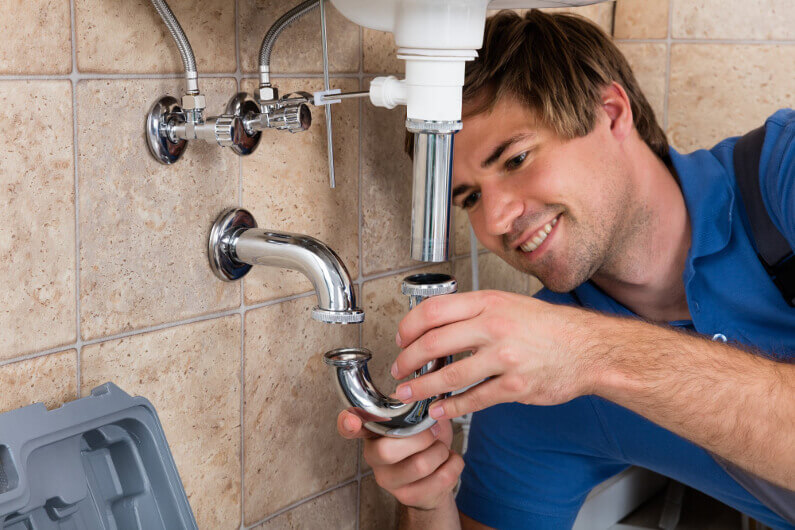
Our plumbings can assist mount waste disposals, connect water lines to fridges and sinks, install dishwashing machines, and installing cooking area taps and sinks. Leaking pipelines are possibly the leading pipes service call that Hoffmann Brothers Plumbers gets. It is crucial to have operating pipes without leak, and if they can not be repair work, then Hoffmann Brothers can replace the pipes in your house.
Sump Pumps help keep water out of your home, and when they stop working, it could create major damages specifically in the basement. It is very important to make certain that your sump pump is functioning effectively particularly prior to a damp St Louis spring. Water Treatment is essential specifically in St Charles Area, Jefferson County and Franklin region where the water is a lot more challenging than typical.
Leaks and negative pipe connections can arise from pipe deterioration if not resolved. Green discolorations around on shutoff valves and copper and brass installations suggest deterioration. Test water stress. Water pressure determines the pressure of water as it moves from sinks, taps and showerheads. Low tide pressure can suggest an issue with the water line or of sediment accumulate in the faucet or showerhead.
Local Plumber University City San Diego, CA
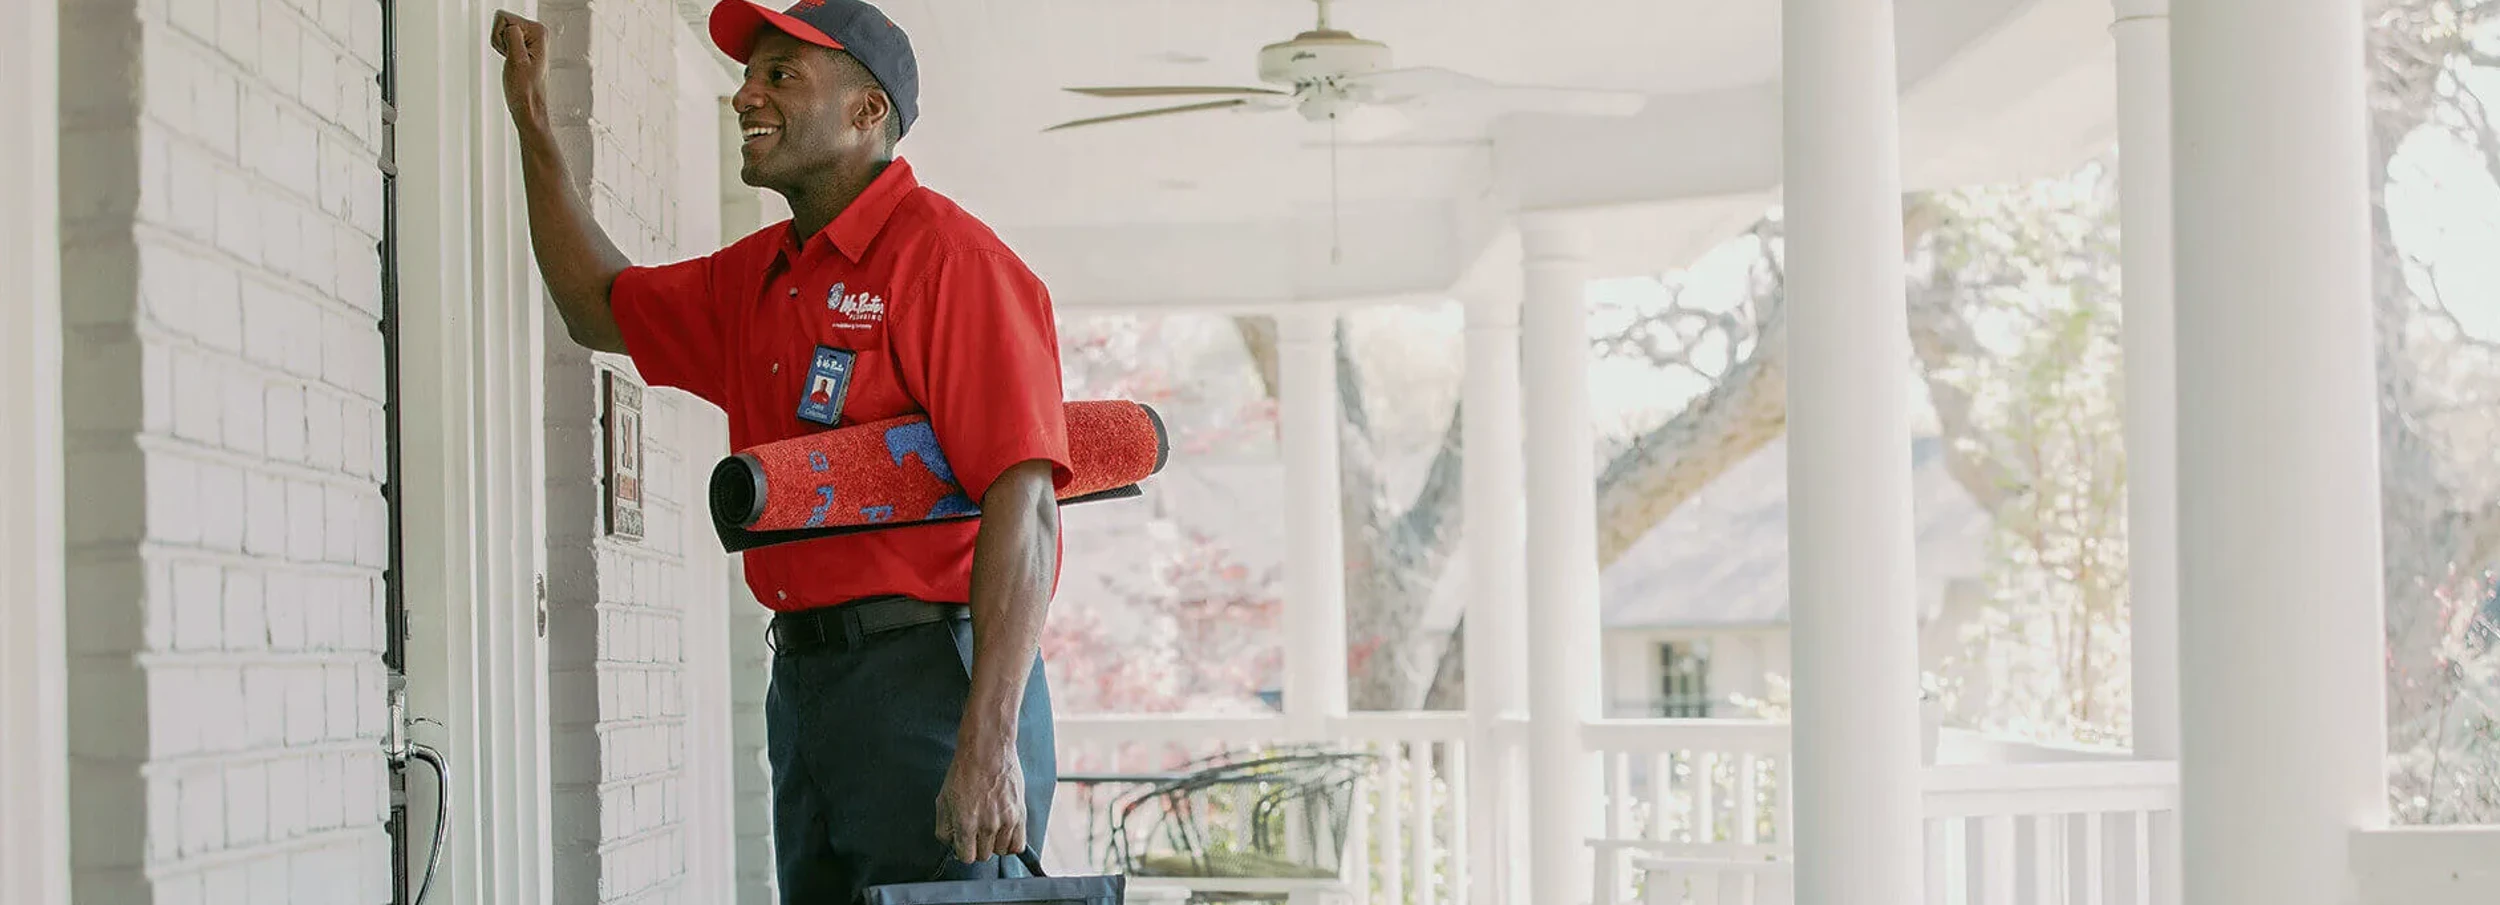
Hoffmann Brothers has actually been servicing St Louis homeowners as one of the top plumbing business for over 40 years. We are trusted, skilled, qualified and get the task done right and quickly!
Our reputation as the top plumbing firm in Belmont, NC has been constructed over a 30-year period. We enjoy our consumers and are grateful to them for assisting us win numerous honors and for our regular 5-star score. We attempt very difficult to constantly, always do an outstanding job for a sensible cost and our terrific reputation lets us recognize that our effort is worth it.
Shower Repair Near Me University City San Diego, CA
Plumbing Connection can aid in several areas of home upkeep and pipes repair service consisting of the emergency plumbing. We can also offer preventative solutions for our consumers that can quit problems from happening in the future. Plumbing Link has constructed its credibility on making certain all maintenance and repairs are finished as promptly as feasible and in the appropriate means.
Here's what Plumbing Connection can use in the town: - We fix, mount and replace any kind of type of bathroom and kitchen components. We make certain timely and reliable plumbing repair services below at Plumbing Connection. - Drain cleaning in Belmont, NC, guarantees you of an efficient way to handle stopped up drainpipe problems.
Residential Plumber University City San Diego, CA
- Water with high choline and ammonia and various other impurities need to no longer be a trouble when you contact Pipes Link. We provide all type of water filtration systems and services including whole-house filters, UV lights to kill any kind of microorganisms existing, reverse osmosis systems, water softeners, and any kind of mix of water filtering that ensure you of lasting security and preference benefits.
We are expert pipe-liners and have actually even aided establish brand-new techniques with pipe-lining materials manufacturers. Upkeep is not constantly thought about in a home because the bulk of plumbing is concealed from view, yet many troubles can be concealing contemporary of sight behind a wall or under a floor. The purpose of the maintenance services that our plumbing professionals at Pipes Link in Belmont, NC, can supply is to stop the demand for frequent, expensive, significant repair services.
When it pertains to upkeep, our specialists specialize in making sure a few water and sewer leakages require to be addressed due to the fact that they have been recognized during a scheduled assessment. Upkeep is one of the most fundamental parts of our plumbing services because we can ensure all drains and drains are functioning correctly to prevent the troubles of wastewater backups.
Plumbing Installation Near Me University City San Diego, CA
Maintenance choices provide us the chance to identify locations that might require some preventative upkeep job to prevent future issues and the significant expense that this can bring. It is unusual that the emergency situation plumbing scenarios our clients face will be seen throughout the daily office hours when the majority of our customers are functioning.
Our customers can be certain that our solutions are readily available in any way times to make certain all the pipes issues that can happen are resolved quickly and easily. Get to out to Pipes Link whenever you need any of the services we offer in Belmont, NC. Call us today or fill in the form on this website.
Required aid with home repair services? Below is a list of Portland-area area organizations that offer aid with home fixings or funding. Basic program summaries and qualification needs are provided right here, but also for the most updated info or to obtain services, speak to the organizations directly. Do you recognize of an organization we should add to this checklist? Send us an email.Offers home retention solutions, tax delinquency assistance, and foreclosure counseling for people and households having a hard time to sustain, preserve, or preserve their home. Offers low-income homeowners residing in East Portland postal code 97216, 97220, 97230, 97233, 97236, and 97266. Property proprietors that qualify may utilize this low-interest funding to spend for the expense of placing in a drain line when the City has actually required it. Sometimes, financings are also readily available for repair service or substitute of a sewage system line that has damaged and requires to be replaced. Car loans are due in complete upon sale or transfer of building.
Water Filtration Services Near Me University City San Diego, CA
Black Mountain Plumbing
Address: 9909 Hibert Street Suite E San Diego, CA 92131Phone: (858) 536-4161
Email: [email protected]
Black Mountain Plumbing
Offers weatherization and critical home repair. Homeownership retention program aids with urgent home repair work, including plumbing, electric, and water heating unit fixings. Free home analyses are readily available for property owners getting repair services.
Residential Plumbing Services Near Me University City San Diego, CALocal Plumbing Near Me University City San Diego, CA
Water Line Repair University City San Diego, CA
Bathroom Plumber University City San Diego, CA
Bathroom Plumber University City San Diego, CA
Water Heater Installers University City San Diego, CA
Local Plumber University City San Diego, CA
Affordable Plumber Near Me University City San Diego, CA
Plumbers In University City San Diego, CA
Shower Repair University City San Diego, CA
Garbage Disposal Installation University City San Diego, CA
Water Filtration Services Near Me University City San Diego, CA
Water Leak Repair University City San Diego, CA
Kitchen Plumbing University City San Diego, CA
Residential Plumbing Contractors Near Me University City San Diego, CA
Best Plumber University City San Diego, CA
Affordable Plumber Near Me University City San Diego, CA
Local Plumbing Near Me University City San Diego, CA
Plumber Toilet Repair University City San Diego, CA
Shower Repair University City San Diego, CA
Residential Plumber University City San Diego, CA
Affordable Plumbing Near Me University City San Diego, CA
Plumbing Installers Near Me University City San Diego, CA
Plumbing Installation University City San Diego, CA
Local Plumbing Near Me University City San Diego, CA
Gas Line Plumber University City San Diego, CA
Plumbing Installation University City San Diego, CA
Plumber Shower Installation University City San Diego, CA
Local Plumbing Near Me University City San Diego, CA
Residential Plumber University City San Diego, CA
Plumber Shower Installation University City San Diego, CA
Plumbing Installation University City San Diego, CA
Plumber Company Near Me University City San Diego, CA
Water Line Repair University City San Diego, CA
Local Plumbing Near Me University City San Diego, CA
Residential Plumbing Repair Near Me University City San Diego, CA
Shower Repair University City San Diego, CA
Plumber Company Near Me University City San Diego, CA
Residential Plumbing Services Near Me University City San Diego, CA
Bathroom Plumber University City San Diego, CA
Best Plumbing University City San Diego, CA
Plumber Shower Installation University City San Diego, CA
Affordable Plumber Near Me University City San Diego, CA
Shower Repair Near Me University City San Diego, CA
Plumbing Installers Near Me University City San Diego, CA
Affordable Plumber Near Me University City San Diego, CA
Garbage Disposal Installation University City San Diego, CA
Water Line Repair University City San Diego, CA
Plumber Shower Installation University City San Diego, CA
Plumbing Installers Near Me University City San Diego, CA
Plumbing Installation Services University City San Diego, CA
Near Me Plumber University City San Diego, CA
Gas Line Plumber University City San Diego, CA
Plumber Company Near Me University City San Diego, CA
Best Plumber University City San Diego, CA
Water Leak Repair University City San Diego, CA
Best Plumber University City San Diego, CA
Plumbing Installation Services University City San Diego, CA
Affordable Plumbing Near Me University City San Diego, CA
Residential Plumbing Services Near Me University City San Diego, CA
Gas Line Plumber University City San Diego, CA
Local Plumbing Near Me University City San Diego, CA
Shower Repair University City San Diego, CA
Plumbing Installation Near Me University City San Diego, CA
Plumbing Installation University City San Diego, CA
Find Seo Package University City San Diego, CA
Near Me Seo Company Near Me University City San Diego, CA
Black Mountain Plumbing
Table of Contents
- – Affordable Plumbing Near Me University City San...
- – Black Mountain Plumbing
- – Plumber For Clogged Toilet Near Me University ...
- – Residential Plumbing Services Near Me Universi...
- – Local Plumber University City San Diego, CA
- – Shower Repair Near Me University City San Die...
- – Residential Plumber University City San Dieg...
- – Plumbing Installation Near Me University Cit...
- – Water Filtration Services Near Me University...
- – Black Mountain Plumbing
Latest Posts
Photographer For Weddings Near Me Diamond Bar
Photographers For Wedding Upland
Indio Home Health Agencies
More
Latest Posts
Photographer For Weddings Near Me Diamond Bar
Photographers For Wedding Upland
Indio Home Health Agencies