All Categories
Featured
Table of Contents
- – Rubber Roofing For Rv Tustin, CA
- – OCRV Center
- – Repair Rv Roof Tustin, CA
- – Motorhome Roof Replacement Tustin, CA
- – Rv Roof Leak Repair Tustin, CA
- – Rv Roof Leak Repair Near Me Tustin, CA
- – Resealing Rv Roof Tustin, CA
- – Rv Trailer Roof Repair Tustin, CA
- – Rv Slide Out Roof Repair Tustin, CA
- – Rv Roof Repair Service Near Me Tustin, CA
- – Rv Fiberglass Roof Repair Tustin, CA
- – Rubber Roof For Camper Tustin, CA
- – Rubber Roofing For Campers Tustin, CA
- – Replace Rv Roof Tustin, CA
- – Rv Roof Repair Service Near Me Tustin, CA
- – OCRV Center
Rubber Roofing For Rv Tustin, CA
Roofings in particular have a whole lot of potential leak areas. A roofing system joint and the location around a screw might need different roofing sealants.
It allows whatever to flex so is less most likely to split. Some windows aren't totally secured, but it's still crucial to keep the seals that are needed. The most effective method to is to regularly inspect the stability of your seals. Walk your whole recreational vehicle and check every location of shift or penetration.
Make it a priority to understand where you have motor home sealants and what locations go to risk for cracks and other damages. Recognizing with the location of every one of your sealants makes your sealer check both fast and reliable. Doing that complete check (it can take as little as 15 minutes) two times a year can conserve you from the inconvenience and expense of a major water damage fixing.
Repair Rv Roof Tustin, CA
A leaky roof covering is possibly the most consistent issue for many Motor homes. Whether it's triggered by falling branches, freezing water, or a few other source, it appears that water always finds its way right into Motor homes. Water and Motor homes were not meant to live with each other, and also a tiny leakage can lead to disastrous effects in your RV.
It's all also common to feel the drip of a leaking roof covering in your RV. There are several causes for a dripping roof. Water can survive also the tiniest spaces, and if it happens to ice up hereafter, the water will certainly increase and make the trouble also worse. Holes and leakages can take place when warm from the sun creates the roofing product to warp or soften.
Motorhome Roof Replacement Tustin, CA
Regardless of exactly how the leak occurs, as soon as water enters your trailer, the troubles will actually start. If your RV isn't well-ventilated, the mildew will quickly spread out and take over.
There are lots of various products on the market, from silicone sealers to tar products, and which product you pick will certainly depend on the roof material of your trailer. Laundry the entire roof of your Motor home to eliminate any kind of debris, tree sap, dust, and various other contaminants.
Mix up a container of water with a mild detergent (like dishwashing liquid) and apply with the brush. When the area is tidy and dry, situate the problem area.
Rv Roof Leak Repair Tustin, CA
Adding this safety barrier will aid protect against any future leakages. At the end of the day, roofing system repair service is usually best left to the specialists.
In addition to that, they'll be able to identify the level of any type of damages triggered by the leak before you captured. Plus, you'll have the ability to have the satisfaction understanding the job was done right. Bring your leaky motor home by The Outpost recreational vehicle and speak with our group of knowledgeable recreational vehicle professionals.
Keep reviewing to discover several of the ways you can identify and fix RV roofing system leakages. Not exactly sure just how to get going? Below's a step-by-step guide I mapped out that I desire somebody had actually provided me when I started my motor home journey. When it concerns RV upkeep and repairs, the roof covering ought to always be inspected meticulously and routinely.
Rv Roof Leak Repair Near Me Tustin, CA
Since your recreational vehicle roof is clean, you're all set to seal! Yet prior to obtaining started, it is essential to note that when it involves motor home roof leakages, there isn't a one size fits all remedy. Each leakage is special and depending on its dimension and area, it might need a certain sort of fix.
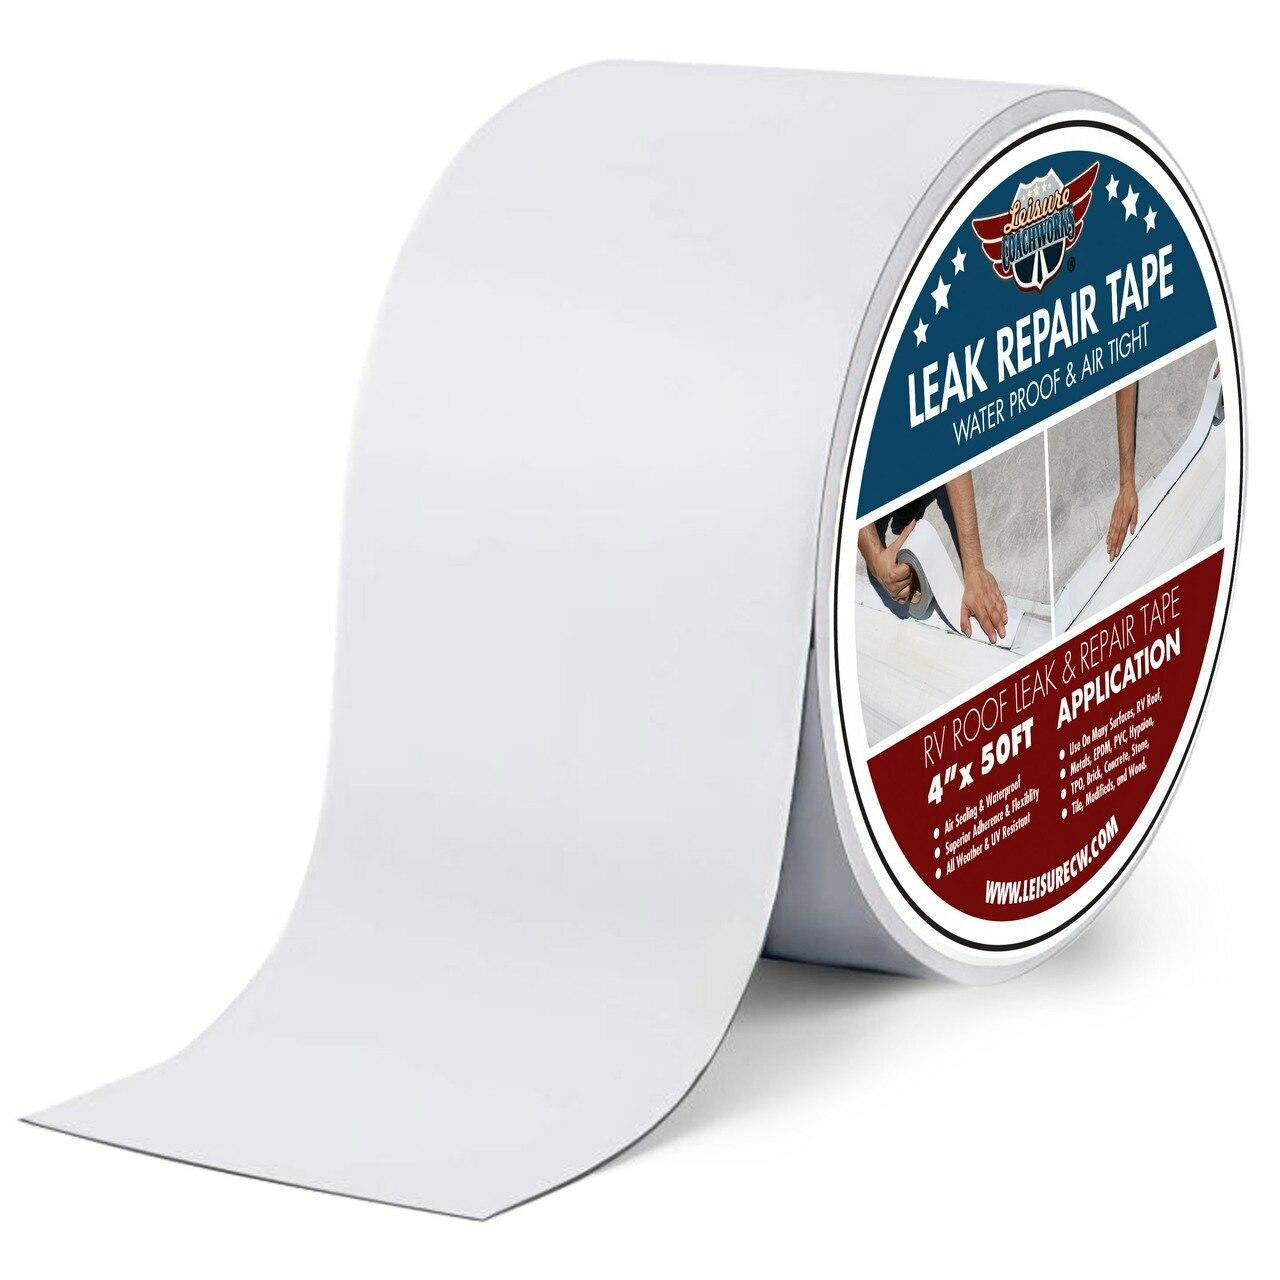
RV Roof Leak Repair Service: Emergencies Conveniences: Can be used on a damp surface area, making it best for a quick solution for smaller leaks throughout or after a tornado. Pro Pointer: Ensure to use adequate tape to hide the opening or gap completely, leaving concerning an inch of tape all the method around the affected location to obtain the best insurance coverage.
Resealing Rv Roof Tustin, CA
Recreational Vehicle Roofing System Leak Repair Work: Targeting Certain Areas Advantages: Great for a longer-term remedy. Frequently used around vents and various other seams that need resealing. Pro Idea: Hold the can at a 45-degree angle and use directly to the issue area being treated. Flex Shot takes about 24-48 hours to cure and must be used on a completely dry surface area.
Pro Tip: Prior to utilizing this item, you'll desire to ensure the surface is dry. Make certain to properly evaluate it on a tiny location first before using it on a large surface. Multiple layers are urged! You should allow 24-48 hours for the product to treat before each layer.
Use correct safety and security devices like gloves and protective glasses as essential. Usage painter's tape and cover the locations you wish to avoid coating, particularly hinges and other relocating parts. While no motor home roof lasts forever, appropriate maintenance is essential for its longevity. With normal inspection and the power of The Flex Seal Family Members of Products, you can assist expand your motor home roof's life and keep it going solid as you enjoy the open airs.
Asen is a full-time RV tourist given that 2018 and is the proprietor of the blog, Camper Life. He loves camping in nature, angling, and spending quality time with his household. Striving to provide the most important info about campers and RVs, he shares whatever he found out over the years.
Rv Trailer Roof Repair Tustin, CA
Examining the roofing involves carefully checking out the whole surface, including seams, vents, skylights, and any type of other roofing components. This helps in detecting fractures, slits, tears, or indicators of wear and damage. Resealing Rv Roof Tustin. Roofing Cleansing and Prep work: Before conducting repair services, the roofing system should be completely cleaned up to get rid of dirt, particles, and any kind of loosened or damaged product

It is crucial to avoid extreme cleansing agents that can cause damages to the roofing material. Repairing Leakages: Water leakages are a common issue in RV roofings and should be addressed quickly. Locating and repairing leakages usually entails using sealants or roofing patching products to the affected locations. Frequently used sealants consist of silicone-based products or specialized RV roofing sealants that are compatible with the roof material.
Covering includes using repair service tape, spots, or coatings to cover small areas of damages, while considerable damages might call for changing bigger areas of the roof covering product. The replacement material need to match the initial roof covering product to ensure appropriate fit and longevity. Sealing and Finish: Applying a safety roofing system sealant or layer is crucial to enhance the long life and water resistance of the roof.
Leisure automobiles (Recreational vehicles) are a prominent way to travel, as they supply the flexibility of the open roadway with the conveniences of home. Motor homes need upkeep just like any type of various other vehicle, and one of the most usual issues is a dripping roof. In this short article, we'll go over why recreational vehicle roof covering leakages are a trouble and exactly how to fix them.
Rv Slide Out Roof Repair Tustin, CA
Here are several of one of the most common troubles that can emerge from a leaking motor home roof covering: One of the most evident trouble that can take place from a leaking roof is water damages. Water can seep into the wall surfaces, floorings, and ceilings of the motor home, creating mold and mildew, mold, and rot. If left uncontrolled, water damages can endanger the architectural integrity of the motor home and create pricey repair services.
Mold and mildew and mildew can cause wellness problems for those that spend time in the Motor home. If you determine to offer your RV, a leaking roof will dramatically decrease its resale worth.
Since we've talked about why motor home roofing leaks are a trouble, allow's consider how to fix them. There are a number of steps you can require to fix a leaking motor home roof, depending upon the severity of the damage. The initial step in fixing a leaking motor home roof covering is recognizing where the water is coming from.
Search for any noticeable splits, holes, or locations where the sealer is degrading. When you've identified the source of the leakage, you'll require to clean and prepare the location for repair work. Remove any kind of dirt, particles, or old sealant from the afflicted location. Use a cleaner specifically made for recreational vehicle roofings to guarantee that the surface area is tidy and without impurities.
Rv Roof Repair Service Near Me Tustin, CA
Make use of a high-quality sealer that's created for recreational vehicle roofing systems and is compatible with the existing sealer. Use the sealant in a smooth, even layer, and make sure to cover the whole affected location. After using the sealant, enable it to dry entirely prior to subjecting it to water. Comply with the producer's directions for drying time, yet as a whole, you should wait a minimum of 24-hour prior to testing the repair work.
Examine inside the RV for any indications of water intrusion, and make any essential changes to the repair work. The best way to handle recreational vehicle roofing system leaks is to avoid them from taking place in the very first area. Below are some pointers to help you prevent motor home roofing system leakages: Examine your recreational vehicle roofing system regularly for any kind of indicators of damages or wear.
Rv Fiberglass Roof Repair Tustin, CA
Keep your recreational vehicle roofing system tidy and devoid of debris. On a regular basis tidy the roofing with a cleaner especially created for recreational vehicle roofings. If you do notice a leakage, address it quickly. Do not wait on it to aggravate, as the damage will only end up being a lot more serious and expensive to fix. RV roof covering leakages are a common issue that can cause considerable damages to your vehicle.
Nothing ruins a motor home adventure quicker than a dripping roofing. Water can create significant damages to the interior of your recreational vehicle, as well as all of your belongings. While a motor home roof covering leakage can be a daunting task to deal with, you can quickly repair it on your own with the right devices and materials.
Rubber Roof For Camper Tustin, CA
Do not allow a leaking roofing system destroy your journey - get started on your Motor home roof repair today! Prior to you begin your Motor home roofing repair, it's essential to make sure you have the right tools and products.
Next off, make use of the 100% Silicone Motor Home Roofing Covering to seal your whole roof covering. You may wish to utilize a container with an angled put spout to spread out the covering in locations that you make use of a roller or a brush on move the product about. You'll ideally desire 2 thick layers for ideal defense.
Rubber Roofing For Campers Tustin, CA
When you have actually repaired a Motor home roof covering leakage, it's vital to take steps to stop future leaks. One of the finest ways to do this is to keep your roofing tidy and cost-free of particles.
Last yet not the very least, make certain to check the roof after any kind of severe weather condition. High winds, hail, or heavy rainfalls can all cause damage to the roofing.
Always seek advice from with an expert prior to undertaking roof covering fixings. There are just two types of Motor homes: those with roof covering leaks and those that aren't leaking. Keeping your roofing tidy and properly kept will assist. Still, no amount of upkeep will certainly preclude the possibility of roofing leakages. When we bought our plaything hauler, I was excited to get a recreational vehicle with a strong aluminum roofing system since, purportedly, aluminum roofing systems never ever leak.
Replace Rv Roof Tustin, CA
It leaks, and about annually, I discover myself atop a high ladder on the quest for the latest leak, equipped with a caulk weapon and much irritation. In truth, motor home roofing systems lose from the components and the roughness of being drawn around the country at highway speeds.
Do not be the person that brings a caulk weapon onto the roof covering and seals over every seam and penetration prior to conducting a thorough evaluation. The first point to look for is evident damage in the area over where the leak happened.
Rv Roof Repair Service Near Me Tustin, CA
If you don't see anything undoubtedly wrong, concentrate on the seams and infiltrations. The joints are the corners and joints where the main straight area of your roofing system attaches to the upright walls on all four sides. The roof penetrations include the rooftop air conditioning devices, skylights, plumbing vent pipes, antennas, and exhaust followers.
In enhancement to evaluating the joints, I suggest checking any pen lights (Also known as running lights) on the RV. These are commonly small orange or red lights along the top of the exterior wall surfaces of the Motor home.
The extent of the damages and scale of necessary repairs are the best signs of what to do next. Leaning off of ladders and strolling around on unstable RV roofs isn't a great choice for every person, and it's best to employ a professional if you have any type of questions.
Rv Rubber Roof Repair Tustin, CARv Rubber Roof Replacement Cost Tustin, CA
Rv Rubber Roof Maintenance Tustin, CA
Rubber Roof Installation Tustin, CA
Rv Trailer Roof Repair Tustin, CA
Motorhome Roof Replacement Tustin, CA
Epdm Rv Roof Repair Tustin, CA
Rubber Roof For Camper Tustin, CA
Motorhome Roof Replacement Tustin, CA
Rubber Roofing For Campers Tustin, CA
Rv Rubber Roof Maintenance Tustin, CA
Rv Rubber Roof Replacement Cost Tustin, CA
Rv Trailer Roof Repair Tustin, CA
Repair Rv Roof Leak Tustin, CA
Motorhome Roof Replacement Tustin, CA
Resealing Rv Roof Tustin, CA
Rubber Roofing For Rv Tustin, CA
Rubber Roofing For Campers Tustin, CA
Rv Roof Maintenance Tustin, CA
Rubber Roof Installation Tustin, CA
Rubber Roof For Rv Tustin, CA
Rubber Roof Installation Tustin, CA
Rv Roof Repair Near Me Tustin, CA
Rv Roof Replacement Tustin, CA
Rv Fiberglass Roof Repair Tustin, CA
Rv Rubber Roof Replacement Tustin, CA
Rv Roof Repair Service Near Me Tustin, CA
Motorhome Roof Replacement Tustin, CA
Rv Rubber Roof Repair Tustin, CA
Repair Rv Roof Leak Tustin, CA
Rv Trailer Roof Repair Tustin, CA
Rv Roof Repair Service Near Me Tustin, CA
Resealing Rv Roof Tustin, CA
Rv Roof Repair Service Near Me Tustin, CA
Resealing Rv Roof Tustin, CA
Rv Trailer Roof Repair Tustin, CA
Best Rv Roof Repair Tustin, CA
Epdm Rv Roof Repair Tustin, CA
Replace Rv Roof Tustin, CA
Resealing Rv Roof Tustin, CA
Rubber Roof For Camper Tustin, CA
Rubber Roof For Rv Tustin, CA
Rv Trailer Roof Repair Tustin, CA
Best Rv Roof Repair Tustin, CA
Roof Repair For Rv Tustin, CA
Rv Roof Repair Near Me Tustin, CA
Rubber Roof Installation Tustin, CA
Rv Roof Repair Service Near Me Tustin, CA
Rv Roof Repair Tustin, CA
Rubber Roof For Camper Tustin, CA
Rv Trailer Roof Repair Tustin, CA
Rv Rubber Roof Maintenance Tustin, CA
Rubber Roofing For Rv Tustin, CA
Roof Repair For Rv Tustin, CA
Rv Roof Repair Tustin, CA
Rubber Roof For Rv Tustin, CA
Class C Rv Roof Repair Tustin, CA
Rv Trailer Rubber Roof Repair Tustin, CA
Rv Rubber Roof Maintenance Tustin, CA
Rv Rubber Roof Repair Tustin, CA
Roof Repair For Rv Tustin, CA
Rv Trailer Rubber Roof Repair Tustin, CA
Rv Rubber Roof Replacement Tustin, CA
Rv Roof Leak Repair Tustin, CA
Epdm Rv Roof Repair Tustin, CA
Rv Trailer Rubber Roof Repair Tustin, CA
Rv Trailer Roof Repair Tustin, CA
Rv Trailer Rubber Roof Repair Tustin, CA
Motorhome Roof Replacement Tustin, CA
Rv Rubber Roof Replacement Tustin, CA
Rv Rubber Roof Repair Tustin, CA
Rv Roof Maintenance Tustin, CA
Resealing Rv Roof Tustin, CA
Rubber Roofing For Campers Tustin, CA
Epdm Rv Roof Repair Tustin, CA
Motorhome Roof Replacement Tustin, CA
Rubber Roofing For Campers Tustin, CA
Rv Roof Maintenance Tustin, CA
Close By Seo Specialist Tustin, CA
Around Me Seo Agencies Tustin, CA
OCRV Center
Table of Contents
- – Rubber Roofing For Rv Tustin, CA
- – OCRV Center
- – Repair Rv Roof Tustin, CA
- – Motorhome Roof Replacement Tustin, CA
- – Rv Roof Leak Repair Tustin, CA
- – Rv Roof Leak Repair Near Me Tustin, CA
- – Resealing Rv Roof Tustin, CA
- – Rv Trailer Roof Repair Tustin, CA
- – Rv Slide Out Roof Repair Tustin, CA
- – Rv Roof Repair Service Near Me Tustin, CA
- – Rv Fiberglass Roof Repair Tustin, CA
- – Rubber Roof For Camper Tustin, CA
- – Rubber Roofing For Campers Tustin, CA
- – Replace Rv Roof Tustin, CA
- – Rv Roof Repair Service Near Me Tustin, CA
- – OCRV Center
Latest Posts
Employee Benefits Company Laguna Hills
Commercial Swamp Cooler Repair Altadena
Evaporative Cooling Repair Near Me Los Angeles County
More
Latest Posts
Employee Benefits Company Laguna Hills
Commercial Swamp Cooler Repair Altadena
Evaporative Cooling Repair Near Me Los Angeles County