All Categories
Featured
Table of Contents
- – Rv Restoration Companies Corona, CA
- – OCRV Center
- – Rv Dining Table Corona, CA
- – Rv Couch Corona, CA
- – Rv Carpet Replacement Corona, CA
- – Remodeling Rv Corona, CA
- – Rv Couch Bed Corona, CA
- – Rv Microwave Replacement Corona, CA
- – Rv Sofas Corona, CA
- – Rv Interior Furniture Corona, CA
- – Awnings For Rv Corona, CA
- – Rv Floor Replacement Corona, CA
- – Rv Restoration Companies Corona, CA
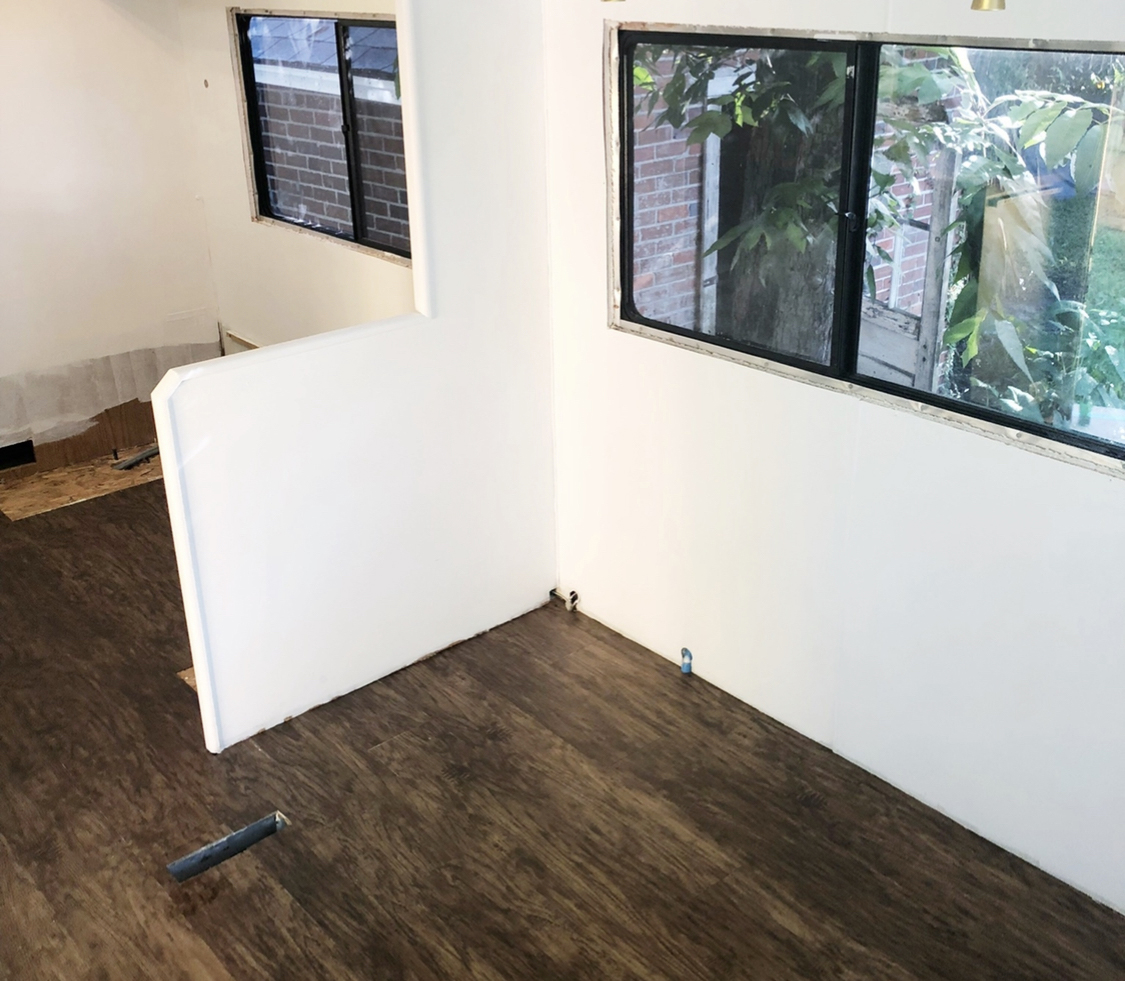
- – Replacement Windows For Rv Corona, CA
- – Rv Sofa Beds Corona, CA
- – OCRV Center
Rv Restoration Companies Corona, CA
Also bear in mind that moisture is usual in Recreational vehicles, as there is open air below, so make that another component of your consideration. One various other idea is to take your old flooring out thoroughly and using it as an overview to reducing and fitting your new flooring. When we changed the rubber flooring in our expandable camper, we just removed every one of the old floor covering and laid it over top of the brand-new flooring, using it as a guide to make our cuts.
We earn payments from purchases you use the retail links in our item evaluations. Learn more about just how this functions.
If you are anywhere within an outing to White Pigeon MI you might most likely to Bontragers, we scored a 4 feet vast for the eating slide out and room (around the bed), a 50 feet roll vynil for 25$. There were also 100 ft rolls for $50. Corona Replacement Rv Windows. they tried talking us into that
Quite a couple of dimensions and shades were there. We really hope to begin on it this summertime while parked in the driveway. The rug is way beyond requiring changing.
Rv Dining Table Corona, CA
If water damages finds you, it's time to replace your Motor home subfloor. Water damages can be so frustrating to find in your RV or camper. Exactly how do we repair it !? These were all inquiries that came to our minds when we found water damage in our Recreational vehicle slide-out floor.
He went outdoors and screwed the flooring back in, yet we recognized that was only a band-aid fix, and the entire subfloor would require to be replaced. When we were settled right into a place with the space, devices, and assist to complete a recreational vehicle subfloor replacement, we got to work.
Rv Couch Corona, CA
If there are any type of cracks or splittings up, water is likely getting in there. Look for a tear or hole in the roofing membrane and for any type of soft areas in the roofing.
Otherwise, you will likely find on your own in the same scenario a little additional down the road. After we pulled up the plastic, we can see just how bad the water damages actually was.
Rv Carpet Replacement Corona, CA
It went directly to the dumpster along with the whole moldy subfloor. You need to thoroughly get rid of any mold and mildew you discover. There are a couple of various means to do it. If it gets on a non-porous surface area, you can spray a mixture of either bleach and water or white distilled vinegar and water, let it rest for a bit, and after that wipe with warm water.
If you aren't certain if you have mold, you can likewise always do an at home test kit similar to this one. To replace your recreational vehicle subfloor is a multi-day task. Considering that we were living full-time in our camper with our family pets, we wished to make the repair services as rapidly as feasible.
To do this we needed to start by gauging our slide out flooring. Ours had to do with 12'x4' and 1" thick. Many subfloors are 1" thick, but some can be ", so it is essential to examine this prior to acquiring your new subfloor. We were able to examine our density by cutting a hole in the floor and determining it before purchasing the products.
We acquired four 8'x 4', -inch thick plywood boards and glued them with each other. We surprised the joints so we didn't have one actually vulnerable point. Picture Credit: Brooke Moeller The sort of adhesive we made use of is not forgiving. As soon as the two pieces of wood touch, they are stuck, and there is no adjusting.
Remodeling Rv Corona, CA

While looking into how to fix this ourselves, we spoke to several motor home service center to see exactly how they replace a slide-out floor this big. They informed us they would do it specifically similarly we were. We also asked the recreational vehicle shop concerning replacing the black tarp-like product that was currently underneath our slide floor.
We wound up opting for an NRP (Non-fiberglass Reinforced Plastic) panel as opposed to FRP, because it was more budget pleasant, lighter weight, and not as stiff. We glued this to the bottom of the subfloor after cutting it to dimension. In order to eliminate the sub floor, you will first require to remove every one of the fenders, trim pieces, and flashing along all-time low of the slide-out.
Rv Couch Bed Corona, CA
Next you will certainly need to have a way to support the slide out once you generate the slide mechanism. We screwed in a 24 board on each side of the slide out and sustained them on 2 flooring jacks. Image Credit Report: Brooke Moeller Once it is sustained you will need to disconnect the slide out bars from the flooring, and bring benches in.
This must be hung on by large lag screws. As soon as that bar is complimentary, you can eliminate the rest of the screws around the boundary of the floor. We had a single person holding the floor up, while the various other walked around eliminating the screws. Most screws will certainly be gotten rid of from the outdoors, however some Motor homes may have screws on the inside.
You will want your brand-new flooring to be installed into sturdy, dry wood, so it is important to analyze these. Image Credit Report: Brooke Moeller We were lucky to just need to change one little stud. Our wall surface was in good problem, and we knew we would certainly paint and put trim items on the wall surface when we were done, so we were not fretted about that.
We had family help us place the flooring into place and hold it up while it was screwed in. We brought the slide out bars back out and reconnected them.
Rv Microwave Replacement Corona, CA
I'm unsure if it was customer error or an inadequate product. As soon as we felt excellent about the brand-new floor, we brought the slide in and out a couple of times to ensure whatever appeared to fit and move ok. Once we were confident with it, we placed every one of the trim items back on and re-caulked whatever.
We were likewise able to find new plastic that was a really close suit to the initial in the camper. Picture Debt: Brooke Moeller We did not adhesive down the insulation or plastic, so we will have the ability to periodically draw it up in the edges to make sure we have no leaks.
Rv Sofas Corona, CA
It would likewise need to remain in the purchase concerning a week, which would have implied we would certainly additionally need to spend for an animal friendly hotel or airbnb for that week. I think we did pretty terrific on our very own. Right here's the last product: Photo Debt: Brooke Moeller I talked with our insurance policy representative to see if this was something that our policy covered, and however it was not.
However, given that this was probably created overtime by wear and tear and/or absence of upkeep (i.e., not replacing old broken caulking) it would certainly not be covered. He claimed this would certainly be the same for most camper repairs and a lot of insurance coverage. This was certainly the most significant repair work we have actually done so much in our camper, and we could not have done it without the expertise and additional muscle mass from our brother-in-law.
Changing your Motor home subfloor is a major project, however it's not unachievable for DIYers like us. I wish our experience assists you with your own RV subfloor replacement. Brooke Moeller has been traveling full time in a Motor home with her husband and 2 cats given that 2021.
Rv Interior Furniture Corona, CA
That put that large opening in our motorhome! Well, it is anticipated and arranged deal with the motorhome that we have wanted to have executed since we got our La-Z-Boy recliners in 2014. We believed regarding having it performed in Florida last winter months, and even thought about having it performed in Arizona on our method out west this year.
When you feel comfy with the high quality of work, the sincerity of the owner and workers, and feel that when you pay the bill you have paid a fair price wherefore you have receivedwell, you have a tendency to want to return to have work done there once more when job needs to be done.
Awnings For Rv Corona, CA
Prior to noon Kerry phoned call to tell me that they had the slide out and it would certainly be a great time to find and obtain some images. I went down by once more quickly after 4 pm and they had the new flooring cut, and David (envisioned over) and Kerry had just glued the white protective Filon bottom on and had attached blue tape over the beveled portion which allows the flooring to rise up and after that slide along the carpeting of the inner floor of the motorhome.
So this is a thicker piece of plywood, much better sort of plywood, and the bottom will still have the protective sheet over it to maintain the water from hitting the wood. He also is changing the trim which connects the flooring to the wall surfaces of the slide. They also had replace that black strip which the slide leaves the carpetthe old one remained in a thrown away state.
They will certainly cut it down to dimension, and set up the flooring into the slide out, and basically placed every little thing back with each other again. After a restless night in the motel, I went back to McColloch's at 9 armed with a couple lots donuts. Kerry was out, so I provided Nick the two boxes of donuts and told him that a person of them was for the men nearby that aided with the slide.
While there David showed me exactly how they were aligning the new flooring to the old flooring to connect the components which get connected to both arms that move the slide in and out (Corona Replacement Rv Windows). I was wishing to get an image of them putting the slide in, so I returned at 1 pm and located the slide was currently in
Rv Floor Replacement Corona, CA
Kerry was pleased of the donuts, and he stated the men throughout the street obtained their box and were actually appreciative of them. When I first spoke to McColloch's about doing this job when we were still in Florida, we were informed that we needed to be gotten ready for it to be a 3-4 day job.
We are so delighted that the job just took two days, which suggests just one night in a motel. Simply prior to 5 pm Kerry calls me and informs me that they are done. I was down at Arden Fair Shopping Center so it was a fast drive over to the store.
Before noontime Kerry contacted us to inform me that they had the slide out and it would certainly be a good time to come and get some images. I went down by again soon after 4 pm and they had the new flooring cut, and David (imagined over) and Kerry had actually simply glued the white safety Filon base on and had attached blue tape over the beveled section which allows the floor to rise and after that slide along the carpeting of the inner floor of the motorhome.
Rv Restoration Companies Corona, CA
This is a thicker item of plywood, better type of plywood, and the bottom will still have the protective sheet over it to keep the water from striking the timber. He also is changing the trim which attaches the floor to the wall surfaces of the slide. They also had change that black strip which the slide leaves the carpetthe old one remained in a squandered state.
They will certainly trim it down to dimension, and install the floor into the slide out, and essentially placed every little thing back together again. After an agitated evening in the motel, I returned to McColloch's at 9 equipped with a pair lots donuts. Kerry was out, so I gave Nick the 2 boxes of donuts and told him that of them was for the individuals across the street that aided with the slide.
Replacement Windows For Rv Corona, CA
While there David showed me exactly how they were aligning the new flooring to the old floor to connect the parts which get connected to both arms that relocate the slide in and out. I was intending to obtain an image of them placing the slide in, so I went back at 1 pm and discovered the slide was currently in.
Kerry appreciated of the donuts, and he claimed the guys across the street got their box and were actually satisfied of them. When I initially spoke to McColloch's regarding doing this task when we were still in Florida, we were informed that we needed to be gotten ready for it to be a 3-4 day task.
Rv Sofa Beds Corona, CA
OCRV Center
Address: 23281 La Palma Ave Yorba Linda, CA 92887Phone: (714) 909-1444
Email: [email protected]
OCRV Center
We are so pleased that the work only took 2 days, which implies just one evening in a motel. Just before 5 pm Kerry calls me and informs me that they are done - Corona Replacement Rv Windows. I was down at Arden Fair Shopping Mall so it was a quick drive over to the shop
Motorhome Carpets Corona, CAMotorhome Carpets Corona, CA
Rv Sofa Sleeper Corona, CA
Replacement Rv Windows Corona, CA
Rv Interior Remodel Corona, CA
Rv Couch Corona, CA
Rv Replacement Furniture Corona, CA
Rv Couch Bed Corona, CA
Rv Carpet Replacement Corona, CA
Rv Sofa Sleeper Corona, CA
Rv Refrigerator Replacement Corona, CA
Rv Interior Remodel Corona, CA
Rv Dinette Booth Corona, CA
Rv Replacement Awnings Corona, CA
Rv Interior Remodel Corona, CA
Awnings For Rv Corona, CA
Rv Couch Corona, CA
Replace Rv Flooring Corona, CA
Replacement Windows For Campers Corona, CA
Remodeling Rv Corona, CA
Rv Carpet Replacement Corona, CA
Rv Couch Corona, CA
Rv Carpet Installation Corona, CA
Replace Rv Flooring Corona, CA
Rv Carpet Replacement Corona, CA
Remodeling Rv Corona, CA
Rv Sofa Sleeper Corona, CA
Awnings For Rv Corona, CA
Replacement Rv Refrigerator Corona, CA
Awnings For Rv Corona, CA
Rv Sofas Corona, CA
Rv Refrigerator Replacement Corona, CA
Rv Sofa Beds Corona, CA
Replace Rv Flooring Corona, CA
Rv Carpet Replacement Corona, CA
Rv Carpet Replacement Corona, CA
Rv Dinette Booth Corona, CA
Rv Sofa Beds Corona, CA
Replacement Rv Refrigerator Corona, CA
Rv Couch Bed Corona, CA
Replacement Windows For Rv Corona, CA
Rv Carpet Installation Corona, CA
Rv Dinette Table Corona, CA
Rv Replacement Awnings Corona, CA
Awning Installation Corona, CA
Rv Couch Corona, CA
Rv Interior Furniture Corona, CA
Awning Installation Corona, CA
Rv Sofa Sleeper Corona, CA
Awnings For Trailers Corona, CA
Rv Restoration Companies Corona, CA
Motorhome Carpets Corona, CA
Rv Floor Replacement Corona, CA
Rv Carpet Replacement Corona, CA
Rv Carpet Replacement Corona, CA
Rv Refrigerator Replacement Corona, CA
Rv Dinette Table Corona, CA
Awnings For Trailers Corona, CA
Rv Carpet Replacement Corona, CA
Motorhome Carpets Corona, CA
Rv Chairs Corona, CA
Replacement Rv Refrigerator Corona, CA
Rv Sofa Sleeper Corona, CA
Rv Sofa Beds Corona, CA
Rv Sofa Sleeper Corona, CA
Rv Dining Table Corona, CA
Remodeling Rv Corona, CA
Replace Rv Flooring Corona, CA
Rv Sofa Beds Corona, CA
Awnings For Rv Corona, CA
Awning Installation Corona, CA
Remodeling Rv Corona, CA
Replacement Rv Windows Corona, CA
Rv Couch Corona, CA
Replace Rv Flooring Corona, CA
Rv Carpet Installation Corona, CA
Rv Microwave Replacement Corona, CA
Awnings For Rv Corona, CA
Finding A Seo Management Corona, CA
In Seo Services Pricing Corona, CA
Replacement Rv Windows Corona, CA
OCRV Center
Table of Contents
- – Rv Restoration Companies Corona, CA
- – OCRV Center
- – Rv Dining Table Corona, CA
- – Rv Couch Corona, CA
- – Rv Carpet Replacement Corona, CA
- – Remodeling Rv Corona, CA
- – Rv Couch Bed Corona, CA
- – Rv Microwave Replacement Corona, CA
- – Rv Sofas Corona, CA
- – Rv Interior Furniture Corona, CA
- – Awnings For Rv Corona, CA
- – Rv Floor Replacement Corona, CA
- – Rv Restoration Companies Corona, CA
- – Replacement Windows For Rv Corona, CA
- – Rv Sofa Beds Corona, CA
- – OCRV Center
Latest Posts
Rubber Roofing For Campers Atwood
Rv Air Conditioner Repair Chino Hills
East Irvine Rv Body Repair Near Me
More
Latest Posts
Rubber Roofing For Campers Atwood
Rv Air Conditioner Repair Chino Hills
East Irvine Rv Body Repair Near Me